
How can I install Microsoft SyncToy on Windows 10?

To install SyncToy on Windows 10, you need to do the following:
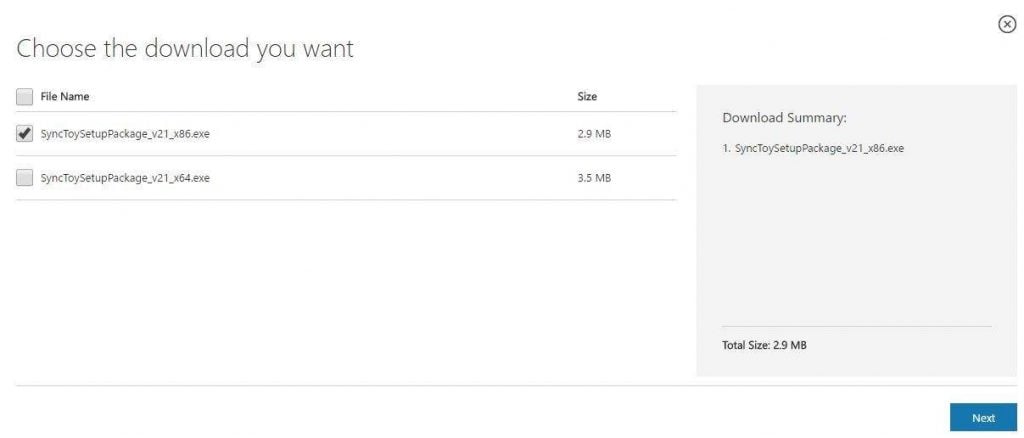
- Visit Microsoft Download Center.
- Click the Download button.

- Select the version you wish to download. If you use the 32-bit version of Windows 10 select the x86 version, but if you use 64-bit Windows, be sure to select the 64-bit version of SyncToy. Click the Next button to start the download.
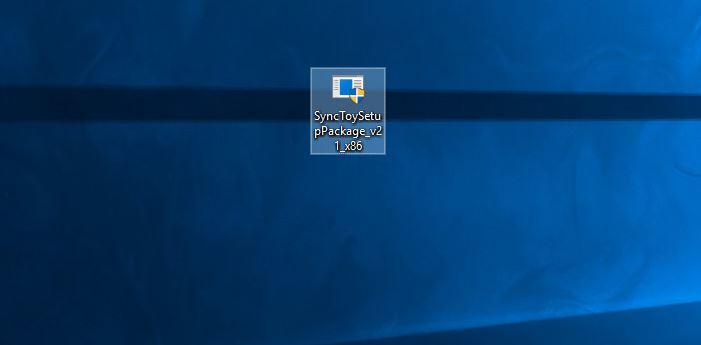
- Once the download is completed, locate the file you just downloaded and double click it to start the setup.
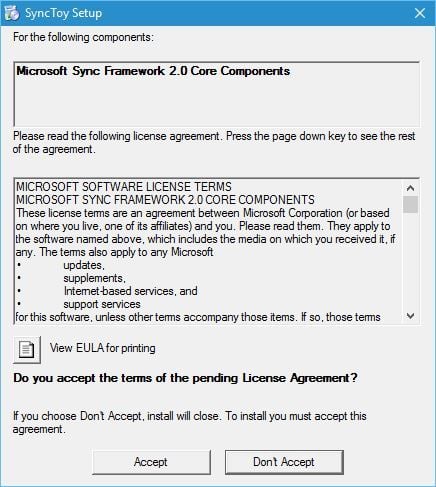
- The first thing you’ll notice is the Microsoft Sync Framework 2.0 Core Components agreement. Read it, and click the Accept button.
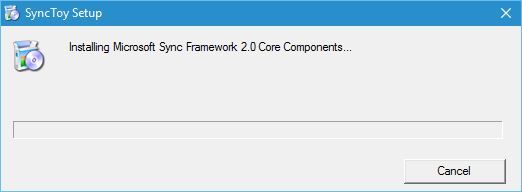
- Wait until setup installs Microsoft Sync Components.
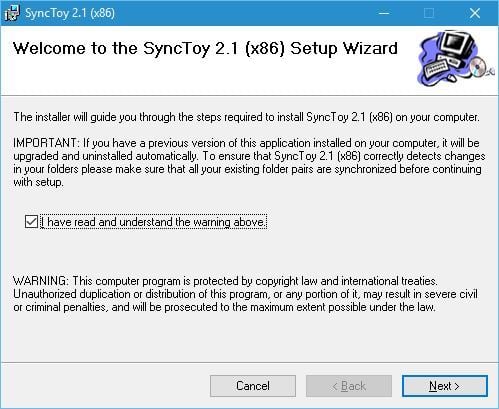
- Setup will now give you a warning message. Read it, check I have read and understand the warning above and click the Next button.
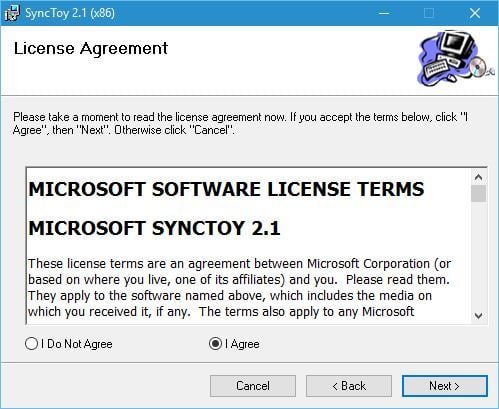
- Now you’ll see the License Agreement. Read it, select the I Agree option and click the Next button.
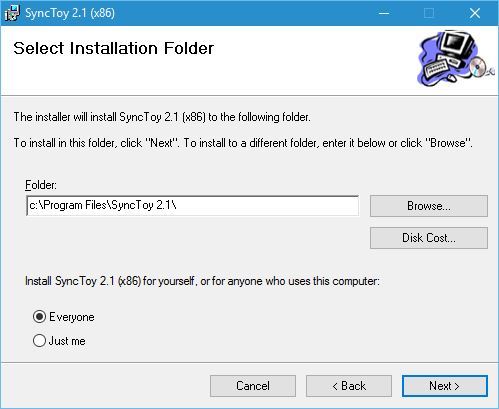
- Select the destination directory where you want to install SyncToy. If you want, you can install the application just for the current user or for all users on this computer. Once you’re done, click the Next button.
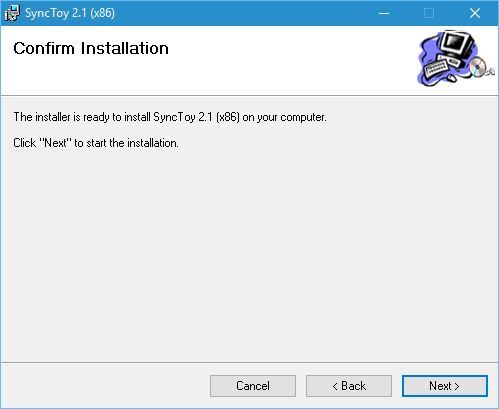
- Click the Next button once again to start the installation process.
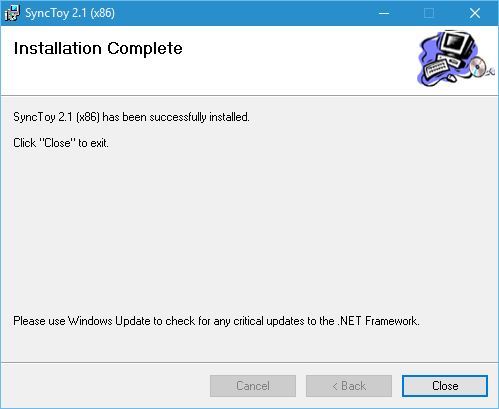
- Once the setup is completed click the Close button.
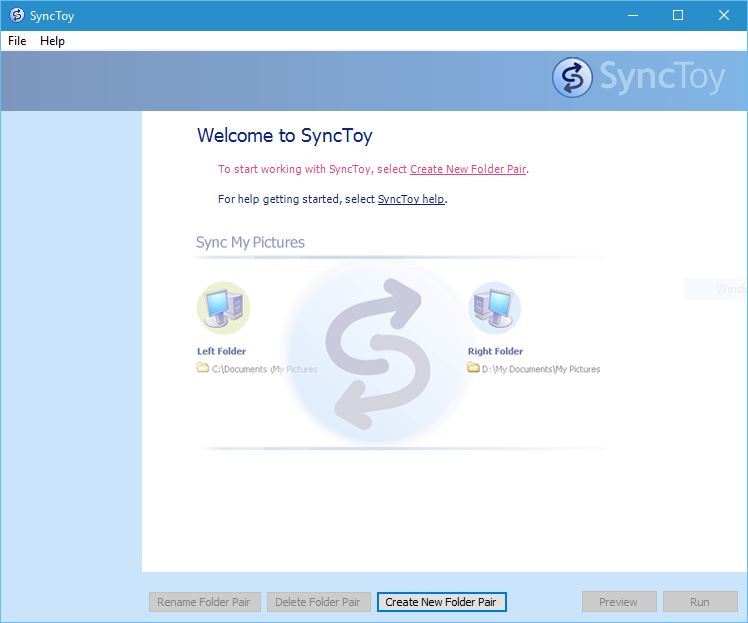
After the SyncToy is installed, you can start it by double-clicking the SyncToy 2.1 shortcut.

To start synchronizing your folders you need to do the following:
- When the application starts click the Create New Folder Pair.
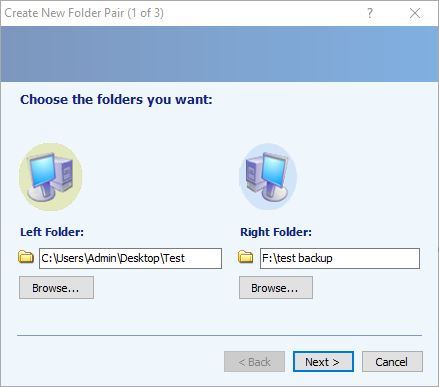
- Now you need to select the left folder and right folder. Click Browse and select the two folders that you want to synchronize. After you’re done click the Next button.
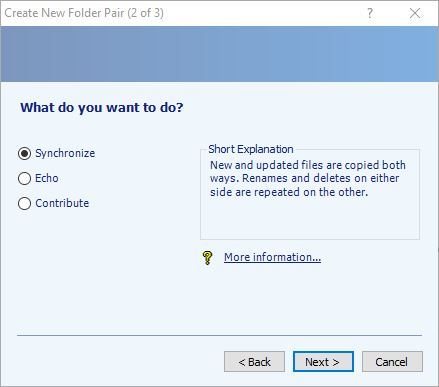
- Now you need to select which method of synchronization you want to use. There are three methods available: Synchronize, Echo and Contribute. Synchronize options will synchronize any new, deleted, or renamed files. This means that if you delete or rename any file in either of the two folders, the changes will be performed to the second folder as well.
The second option is the Echo, and it works similarly to the previous option but with one difference. While using this option changes are only applied from the left to the right folder. This means that if you make any changes in the right folder, they won’t be applied to the left folder.
The last option is called Contribute, and it’s the safest option to use. This option allows you to rename files in the left folder in order to update the right folder. Changes in the right folder won’t affect the left folder at all. It’s also important to mention that this option doesn’t allow deleting, so even if you delete a file in the left folder, that folder won’t be deleted in the right folder. - After you’ve selected the option that works best for you click the Next button.
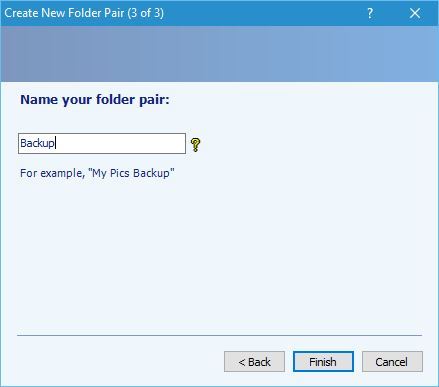
- Enter the name of the folder pair and click the Finish button.
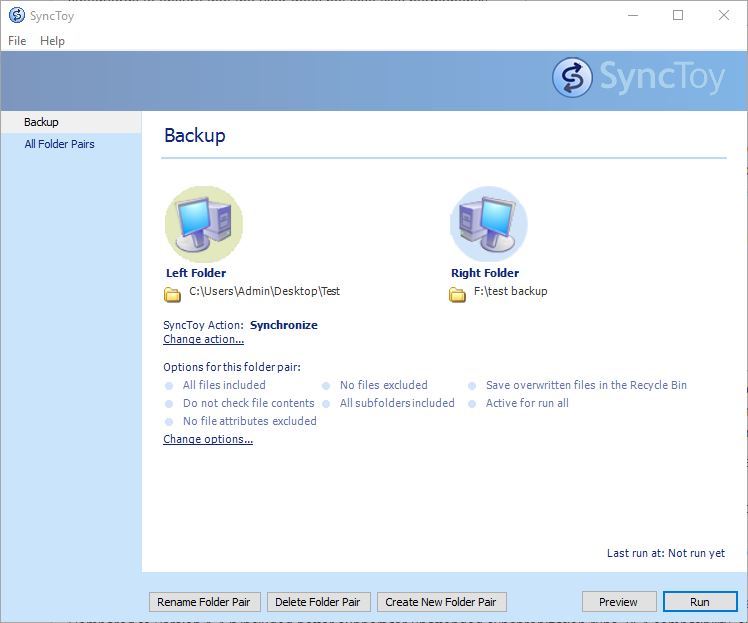
After creating the folder pair, you can see its properties. If you want, you can change the Synchronization settings at any time and you can even exclude certain files from synchronization. Synchronizing folders is simple, and to do that just click the Run button.
 After the syncing process is completed you’ll see a detailed report.
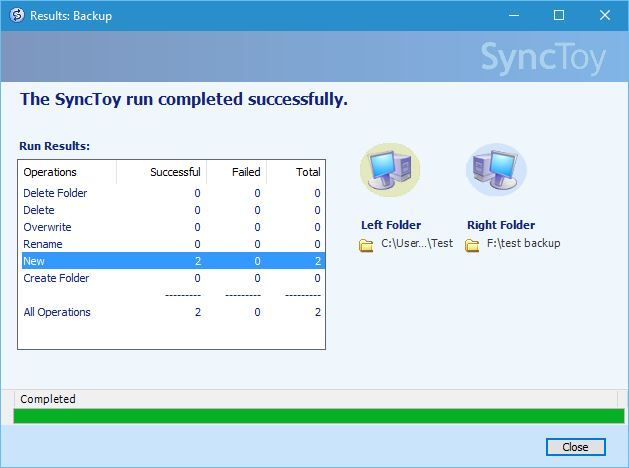


Post a Comment